Flaxengate Railway
The landscape formers meantioned in the baseboard contruction section was covered with chicken wire.

This in turn was covered by paper mache ready for the application of plaster.
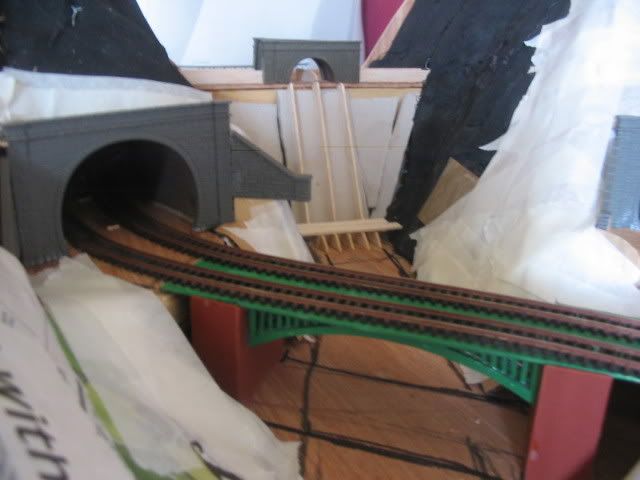
The plaster was mixed and applied using waste cardboard for a scraper. The plaster was applied very thick, unfortunately this makes the layout very heavy but it allows for lots of modification and manipulation of the shape by sanding and chipping.
Tape was placed over the tracks to protect them from any spilt plaster. I can imagine that set plaster would be a nightmare to remove from N gauge tracks!
More photos of the hard lanscaping can be viewed on the layout gallery page.
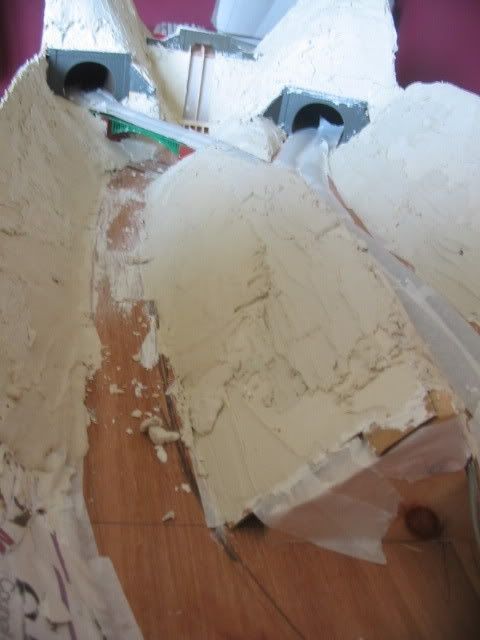
Plaster and Facias
Plastering is almost complete on Flaxengate and it is coming upto the time of soing some scenic work on the layout.
Over the past few months the layout have been moved several times and this is starting to show. Cracks have apeared between the plaster hard landscaping and the facia boards.

This presents a problem as over more time the cracks may get worse and will show up through the applied scenics. A few solutions were thought up most involving the use of glue, after a quick ponder it was decided to use PVA glue to seal the cracks; PVA has the advantage of having slightly elestic properties meaning it will flex instead of cracking when put under stress.
Another benefit of using PVA glue was that the pourous plaster and wood would sock it up and bind it within themselves. This prevented the problem of shifting the cracks further away from the edge.
A stream of PVA was left over the crack to soak in and was wiped clean after a couple of hours.

The glue took a while to soak in and dry. After it had finally dried the strenght was tested by flexing the facia boards, the glue seems to hold well.
The dried PVA has slightly discoloured the plaster near the edge of the board. However this shouldn’t matter too much as the plaster will eventually be painted with a basecoat of grey. Hopefully the glue will not affect the paint!

Since using this technique no further cracks have appeared in the plaster on Flaxengate Model Railway.
Painting
To create a rocky effect I hope to drybrush lighter colours onto a darker base colour.


Green was then painted over the top of the grey base colour leaving some rocky outcrops. The outcrops were drybrushed with a lighter grey paint.

Old Layout
It is best explained now that I am taking it apart as when I took the facias off you can see a cross section from baseboard to ground surface.

The bottom layer is the baseboard made out of chipboard, I used this because it was cheap and easy to use. Though it is worth pointing out that it can warp if not supported properly.
The next layer up is the screwed up paper balls which were dipped in a mixture of PVA and water. These were stacked on top of eachother against the facia which was in place at the time, I kept squashing them down to make them compact and strong.
The top layer or ground level was made from a pulp of toilet roll, PVA and water. As toilet roll is ment to be biodegradable it breaks down easily in the PVA and water mix to make a pulp. This was then put ontop of the paper balls and the top smoothed with a knife. It takes a while to dry completely as for the first few days it is still relatively soft, but after a week when it is fully dried out it will be very strong indeed. I can illustrate this with the video below.